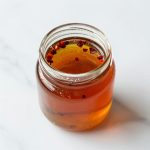
Apple pie filling recipe transforms fresh, crisp apples into a spiced, glossy masterpiece that belongs in every home baker’s repertoire. Whether you’re prepping for Thanksgiving, stocking your pantry with canned goodness, or just craving that warm cinnamon aroma, this recipe delivers.
Homemade filling beats the canned stuff by a mile. You control the sweetness, the spice level, and the apple variety.
The best part? Once you nail this technique, you’ll never go back to store bought. Let’s get those apples bubbling.
Why You’ll Love This Recipe
This apple pie filling strikes the perfect balance between tender fruit and silky sauce. It’s versatile enough for pies, crisps, turnovers, or eating straight from the jar with a spoon.
- Ready in under 30 minutes from start to finish
- Uses pantry staples you probably already have
- Freezes beautifully for up to 12 months
- Customizable sweetness and spice levels
- Makes enough for one deep dish pie or two standard pies
My Experience Making This Recipe
I’ve made this filling more times than I can count, and each batch reminds me why homemade matters. The kitchen fills with that intoxicating mix of cinnamon, nutmeg, and caramelizing apples within minutes.
My family has a habit of hovering around the stove with spoons when I make this. I’ve learned to double the batch because half disappears before it ever sees a pie crust.
The texture hits that sweet spot where apples hold their shape but melt on your tongue. Friends always ask for the recipe, and now you have it too.
Recipe Overview
- Recipe Name: Homemade Apple Pie Filling
- Servings: 8 cups (enough for one 9 inch deep dish pie)
- Prep Time: 15 minutes
- Cook Time: 12 minutes
- Total Time: 27 minutes
- Course: Dessert, Filling, Preserve
- Cuisine: American
- Calories per Serving: 185 calories per cup
Equipment You Will Need
- Large heavy bottomed pot or Dutch oven
- Sharp chef’s knife or apple peeler/corer
- Cutting board
- Wooden spoon or silicone spatula
- Measuring cups and spoons
- Small bowl for mixing spices
- Citrus juicer or reamer
- Large bowl with cold water and lemon juice (to prevent browning)
Ingredients for Apple Pie Filling
- Apples, peeled, cored, and sliced: 3 pounds (about 8 medium apples)
- Granulated sugar: 3/4 cup
- Brown sugar, packed: 1/4 cup
- Cornstarch: 3 tablespoons
- Ground cinnamon: 1 1/2 teaspoons
- Ground nutmeg: 1/4 teaspoon
- Ground allspice: 1/8 teaspoon
- Salt: 1/4 teaspoon
- Fresh lemon juice: 2 tablespoons
- Water: 1 cup
- Unsalted butter: 2 tablespoons
- Vanilla extract: 1 teaspoon
Ingredient Notes and Substitutions
- Apples: Granny Smith, Honeycrisp, or Braeburn hold their shape best during cooking. Substitute with Golden Delicious or Jonagold for a sweeter, softer filling.
- Brown sugar: Adds molasses depth and moisture to the filling. Substitute with coconut sugar or additional granulated sugar if needed.
- Cornstarch: Creates that glossy, thick sauce without cloudiness. Substitute with 4 tablespoons of all purpose flour, though the sauce will be less clear.
- Ground nutmeg: Provides warm, aromatic complexity to the spice blend. Substitute with a pinch of ground cloves or skip entirely for a simpler flavor.
- Lemon juice: Brightens flavors and prevents apple oxidation. Substitute with apple cider vinegar in equal amounts.
- Butter: Adds richness and silky mouthfeel to the sauce. Substitute with coconut oil for dairy free needs.
How to Make Apple Pie Filling
Step 1: Prepare Your Apples
Peel, core, and slice your apples into 1/4 inch thick slices. Consistent thickness ensures even cooking so every bite has the same tender texture.
Drop sliced apples into a bowl of cold water with a splash of lemon juice. This acidulated bath prevents browning while you prep the remaining fruit.
Step 2: Mix the Dry Ingredients
Whisk together both sugars, cornstarch, cinnamon, nutmeg, allspice, and salt in a small bowl. Mixing the cornstarch with sugar prevents clumping when it hits the liquid.
Step 3: Create the Sauce Base
Combine water and lemon juice in your large pot over medium heat. Gradually whisk in the dry ingredient mixture until completely smooth with no lumps visible.
Step 4: Cook the Sauce Until Thickened
Bring the mixture to a boil while stirring constantly with your wooden spoon. The sauce will turn from cloudy to glossy and coat the back of your spoon thickly within 2 to 3 minutes.
Cornstarch activates at boiling temperature, so don’t rush this step. Undercooked cornstarch tastes starchy and won’t set properly.
Step 5: Drain and Add the Apples
Drain your apple slices thoroughly and shake off excess water. Wet apples will dilute your perfectly thickened sauce.
Gently fold the apples into the bubbling sauce, coating every slice evenly. Work carefully to avoid breaking the slices.
Step 6: Simmer the Apples
Reduce heat to medium low and let the apples simmer for 6 to 8 minutes. Stir gently every couple of minutes to prevent sticking on the bottom.
The apples should soften slightly but still hold their shape. They’ll continue cooking in the oven later if you’re making pie.
Step 7: Finish with Butter and Vanilla
Remove the pot from heat and stir in the butter until melted and incorporated. Add vanilla extract and give everything one final gentle stir.
Adding these at the end preserves the vanilla’s fragrance and gives the butter a glossy finish rather than a cooked taste.
Step 8: Cool Before Using or Storing
Let the filling cool for at least 20 minutes before adding to a pie crust. Hot filling in a raw crust leads to soggy bottom syndrome, and nobody wants that.
For storage, cool completely to room temperature before transferring to containers. Warm filling in sealed containers creates condensation and dilutes your hard work.
Pro Tip: Mix two or three apple varieties in one batch for complex flavor and varied texture. Combine tart Granny Smith with sweet Honeycrisp for the ultimate balance.
Tips for the Best Apple Pie Filling
- Slice apples uniformly so they cook at the same rate and create a professional looking pie.
- Taste your raw apples before cooking and adjust sugar accordingly. Tart apples need more sweetness than naturally sweet varieties.
- Don’t skip the salt. It amplifies sweetness and rounds out the spice flavors dramatically.
- Let the sauce boil fully before adding apples. Undercooked cornstarch results in runny, disappointing filling.
- Undercook the apples slightly if making pie since they’ll bake another 45 minutes in the oven.
- Use a light hand when stirring to keep apple slices intact rather than creating applesauce.
Common Mistakes to Avoid
- Using Red Delicious apples: They turn mealy and mushy when cooked, leaving you with apple mush instead of distinct slices.
- Adding cornstarch directly to hot liquid: This creates lumps that never dissolve, leaving you with an unpleasant texture.
- Overcooking the apples: You want tender, not collapsed. Remember they’ll cook more in the pie.
- Skipping the lemon juice: Without acid, the filling tastes flat and one dimensional despite all those warm spices.
- Sealing hot filling in containers: Trapped steam creates water that thins your sauce and promotes bacterial growth.
Serving Suggestions
This filling shines in classic applications but don’t limit yourself. Get creative and use it anywhere you want apple goodness.
- Classic double crust apple pie with flaky butter pastry
- Warm over vanilla ice cream for instant apple pie a la mode
- Layered in mason jars with granola and Greek yogurt for parfaits
- Stuffed inside puff pastry for quick apple turnovers
- Swirled into oatmeal or overnight oats for breakfast
Variations to Try
- Salted Caramel Apple: Add 1/4 cup caramel sauce and an extra pinch of flaky salt for a decadent twist.
- Cranberry Apple: Fold in 1/2 cup dried cranberries during cooking for tart bursts and holiday flair.
- Maple Bourbon Apple: Replace brown sugar with maple syrup and add 2 tablespoons bourbon after cooking.
- Chai Spiced Apple: Add cardamom, ginger, and a pinch of black pepper for warming chai vibes.
- Sugar Free Apple: Use monk fruit sweetener and reduce liquid slightly since sugar adds body to the sauce.
Dietary Adaptations
- Gluten Free: This recipe is naturally gluten free since cornstarch contains no gluten. Verify your spice blends don’t contain hidden wheat fillers.
- Dairy Free: Swap butter for coconut oil or vegan butter with minimal flavor difference.
- Vegan: Use coconut oil instead of butter. The recipe contains no other animal products.
- Low Carb/Keto: Replace sugars with allulose or monk fruit blend and expect slightly thinner sauce since sugar provides body.
Storage and Reheating
Refrigerator
Refrigerated filling stays fresh and delicious for up to one week. The flavors actually improve after a day or two as the spices meld together.
- Store in airtight glass or plastic containers
- Press plastic wrap directly onto the surface to prevent skin formation
- Label with the date for easy tracking
Freezer
Frozen apple pie filling keeps beautifully for up to 12 months. Thaw overnight in the refrigerator before using.
- Use freezer safe containers or heavy duty freezer bags
- Leave 1/2 inch headspace for expansion
- Flatten bags for efficient freezer storage
Reheating
Gentle reheating restores that just cooked quality without turning apples to mush. Low and slow wins this race.
- Warm in a saucepan over low heat, stirring occasionally
- Microwave in 30 second intervals, stirring between
- Add a splash of water if the sauce has thickened too much
Nutrition Information
| Nutrient | Amount |
|---|---|
| Calories | 185 |
| Total Fat | 3g |
| Saturated Fat | 2g |
| Carbohydrates | 42g |
| Fiber | 3g |
| Sugar | 35g |
| Protein | 0.5g |
| Sodium | 75mg |
| Cholesterol | 8mg |
Nutritional values are estimates based on standard ingredients and may vary depending on specific products used and apple varieties selected.
Frequently Asked Questions
Can I use this filling for canning?
Yes, but you’ll need to use Clear Jel instead of cornstarch for safe water bath canning. Regular cornstarch doesn’t hold up to the canning process and can become unsafe.
How do I prevent my pie from having a soggy bottom?
Cool the filling completely before adding to your crust, and consider blind baking the bottom crust for 10 minutes first. Brushing the crust with egg white before filling also creates a moisture barrier.
Can I make this filling ahead of time?
Absolutely, and I recommend it. Making the filling a day ahead lets the flavors develop and makes pie assembly day much less hectic.
Why is my filling runny after baking?
The cornstarch likely didn’t reach a full boil before you added the apples. Make sure the sauce bubbles vigorously and turns glossy before proceeding.
What’s the best apple variety for pie filling?
Granny Smith remains the classic choice for its firm texture and tart flavor that balances the sugar. Honeycrisp and Braeburn make excellent alternatives with slightly sweeter profiles.
Final Thoughts
Homemade apple pie filling puts you in complete control of flavor, texture, and quality. Once you taste the difference, those canned versions will seem like a distant memory.
Stock your freezer with batches of this filling and you’ll always be pie ready. Your future self will thank you when holiday baking season rolls around.
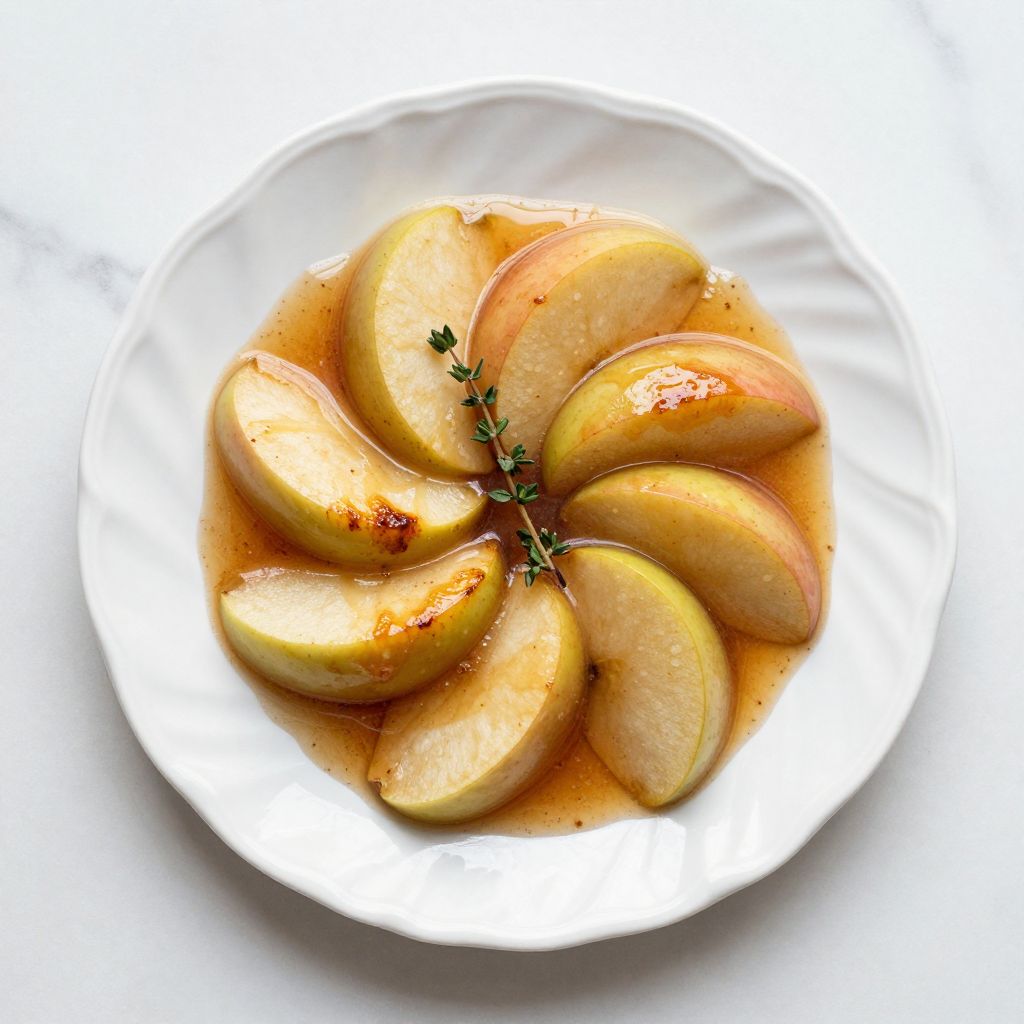
Homemade Apple Pie Filling
Ingredients
Equipment
Method
- Peel, core, and slice your apples into 1/4 inch thick slices. Drop sliced apples into a bowl of cold water with a splash of lemon juice to prevent browning while you prep the remaining fruit.
- Whisk together both sugars, cornstarch, cinnamon, nutmeg, allspice, and salt in a small bowl. Mixing the cornstarch with sugar prevents clumping when it hits the liquid.
- Combine water and lemon juice in your large pot over medium heat. Gradually whisk in the dry ingredient mixture until completely smooth with no lumps visible.
- Bring the mixture to a boil while stirring constantly with your wooden spoon. The sauce will turn from cloudy to glossy and coat the back of your spoon thickly within 2 to 3 minutes.
- Drain your apple slices thoroughly and shake off excess water. Gently fold the apples into the bubbling sauce, coating every slice evenly.
- Reduce heat to medium low and let the apples simmer for 6 to 8 minutes, stirring gently every couple of minutes to prevent sticking. The apples should soften slightly but still hold their shape.
- Remove the pot from heat and stir in the butter until melted and incorporated. Add vanilla extract and give everything one final gentle stir.
- Let the filling cool for at least 20 minutes before adding to a pie crust, or cool completely to room temperature before transferring to containers for storage.