Homemade chili seasoning recipe transforms ordinary ground beef into a flavor explosion that puts those dusty store packets to shame. Once you mix up this blend of chili powder, cumin, and paprika, you will never go back to the pre-made stuff.
This versatile spice mix takes five minutes to prepare and costs a fraction of commercial options. Whether you are hosting a game day crowd or craving a cozy weeknight dinner, this recipe delivers bold, customizable heat every single time.
Why You Will Love This Recipe
Making your own chili seasoning puts you in complete control of flavor and heat levels. Plus, you probably already have most of these spices hiding in your pantry right now.
- Ready in under 5 minutes with pantry staples you already own
- No weird additives, fillers, or hidden sugars like commercial packets
- Completely customizable heat level from mild to fire alarm intensity
- Makes enough for multiple batches of chili or tacos
- Stores for months so you always have it ready when cravings hit
My Experience Making This Recipe
I have been perfecting this chili seasoning for years, and honestly, my family threatens mutiny if I even suggest using a store bought packet. The aroma alone when you open the jar is enough to make your stomach growl in anticipation.
Last winter, I made a triple batch and gave jars to neighbors as holiday gifts. Three of them texted me within a week asking for the recipe because their families would not stop raving about the chili they made.
The balance of smoky paprika, earthy cumin, and that subtle kick of cayenne creates a depth of flavor that tastes like you simmered it for hours. Trust me, your taste buds will thank you for this small effort.
Recipe Overview
- Recipe Name: Homemade Chili Seasoning
- Servings: 8 tablespoons (enough for 4 batches of chili)
- Prep Time: 5 minutes
- Cook Time: 0 minutes
- Total Time: 5 minutes
- Course: Seasoning Blend
- Cuisine: American, Tex Mex
- Calories per Serving: 16 calories per 2 tablespoon serving
Equipment You Will Need
- Small mixing bowl
- Measuring spoons
- Whisk or fork for combining
- Airtight container or mason jar for storage
- Label and marker for dating your blend
Ingredients for Chili Seasoning
- 3 tablespoons chili powder
- 1 tablespoon ground cumin
- 1 tablespoon smoked paprika
- 1 teaspoon garlic powder
- 1 teaspoon onion powder
- 1 teaspoon dried oregano
- 1/2 teaspoon cayenne pepper
- 1/2 teaspoon black pepper
- 1/2 teaspoon salt
- 1/4 teaspoon crushed red pepper flakes
Ingredient Notes and Substitutions
- Chili powder: This forms the backbone of the entire blend with its mild heat and earthy flavor. Ancho chili powder works as a sweeter, smokier alternative.
- Ground cumin: Cumin adds that unmistakable Tex Mex warmth and aroma. Toast whole cumin seeds and grind them fresh for an even more intense flavor.
- Smoked paprika: This brings depth and a subtle smokiness reminiscent of slow cooked chili. Regular sweet paprika works but lacks that campfire quality.
- Garlic powder: Delivers concentrated garlic flavor without the moisture of fresh cloves. Use 1/2 teaspoon granulated garlic if that is what you have on hand.
- Cayenne pepper: Controls the heat level of your entire blend. Reduce to 1/4 teaspoon for mild or increase to 1 teaspoon if you crave serious fire.
- Dried oregano: Mexican oregano offers the most authentic flavor profile. Mediterranean oregano works fine but tastes slightly different.
How to Make Chili Seasoning
Step 1: Gather and Measure Your Spices
Pull all your spices from the pantry and check their freshness by giving each a sniff. Spices lose potency over time, so if yours smell faint or dusty, consider replacing them for maximum flavor impact.
Step 2: Combine the Base Spices
Add the chili powder, cumin, and smoked paprika to your mixing bowl first. These three ingredients create the foundation of your seasoning blend, so accurate measuring matters here.
Step 3: Add the Aromatics
Measure in the garlic powder and onion powder next. These aromatics provide savory depth that makes your chili taste like it simmered for hours even when you made it in 30 minutes.
Step 4: Include the Herbs
Crumble the dried oregano between your fingers as you add it to the bowl. This releases the essential oils and intensifies the herb flavor throughout your blend.
Step 5: Add the Heat Elements
Measure the cayenne pepper and red pepper flakes carefully since these control your spice level. Start with less if you are sensitive to heat because you can always add more cayenne later when cooking.
Step 6: Season and Balance
Add the black pepper and salt to round out the flavors. The salt helps all the other spices pop on your palate and balances any bitter notes from the chili powder.
Step 7: Mix Thoroughly
Whisk everything together for at least 30 seconds until the color looks completely uniform. Any streaks or clumps mean uneven flavor distribution when you use the seasoning.
Step 8: Transfer to Storage
Pour the finished blend into an airtight container or mason jar. Label it with the date so you know to use it within 6 months for the best flavor.
Pro Tip: Use 2 tablespoons of this seasoning per pound of ground meat, adjusting up or down based on your heat preference and how saucy your chili will be.
Tips for the Best Chili Seasoning
- Buy spices from stores with high turnover to ensure freshness and maximum potency in your blend.
- Toast your cumin seeds in a dry pan before grinding for an incredible depth of flavor that pre ground simply cannot match.
- Make a double or triple batch since you will use this on everything from tacos to roasted vegetables.
- Bloom the seasoning in hot oil for 30 seconds before adding other ingredients to unlock even more flavor compounds.
- Taste your finished blend by mixing a pinch into a spoonful of sour cream before adjusting salt or heat levels.
- Store away from heat and light to preserve the volatile oils that give your spices their punch.
Common Mistakes to Avoid
- Using stale spices: Old spices taste like cardboard and will make your entire batch bland and disappointing.
- Skipping the thorough mixing: Uneven blending creates hot spots and bland bites in your finished chili.
- Adding too much cayenne initially: You can always add heat but you cannot take it away once mixed.
- Storing in a clear container by the stove: Heat and light degrade spices quickly and shorten shelf life dramatically.
- Not labeling with a date: You will forget when you made it and potentially use a flavorless old batch.
Serving Suggestions
This seasoning blend works magic on far more than just a pot of classic beef chili. Think of it as your secret weapon for adding Tex Mex flair to dozens of dishes.
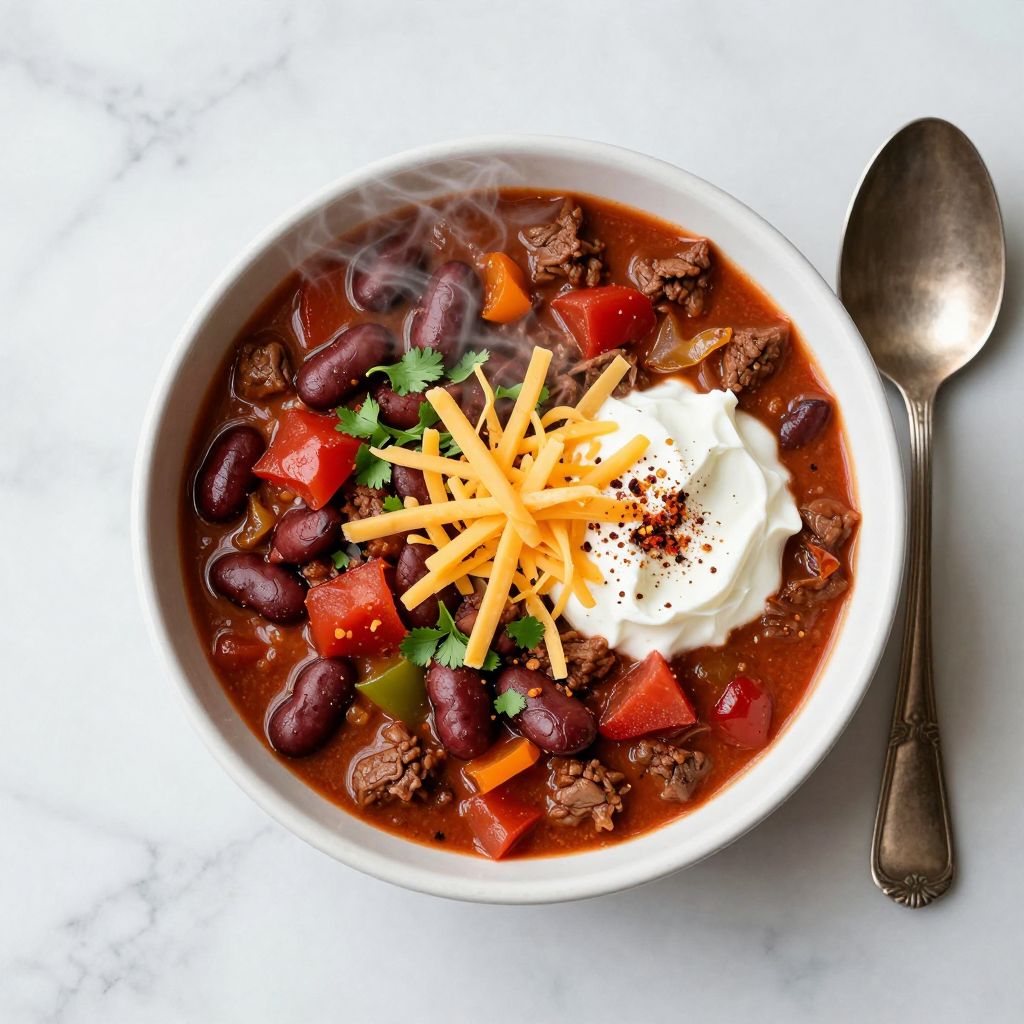
- Classic ground beef or turkey chili with beans and tomatoes
- Taco meat for Tuesday night dinners
- Seasoning for roasted sweet potatoes or butternut squash
- Dry rub for grilled chicken thighs or pork chops
- Sprinkled on popcorn for a spicy movie night snack
Variations to Try
- Smoky Chipotle Version: Add 1 tablespoon ground chipotle pepper for intense smokiness with lingering heat that builds slowly.
- Mild Family Friendly Blend: Omit the cayenne and red pepper flakes entirely for all the flavor without any spice.
- Coffee Chili Seasoning: Add 1 teaspoon instant espresso powder for a deep, complex flavor that makes competition chili judges swoon.
- Citrus Chili Blend: Include 1 teaspoon dried lime zest for brightness that cuts through rich, fatty meats beautifully.
- Extra Hot Version: Double the cayenne and add 1/4 teaspoon ghost pepper powder for those who think jalapenos are mild.
Dietary Adaptations
- Gluten Free: This recipe is naturally gluten free since all ingredients are pure spices with no fillers or additives.
- Dairy Free: Contains no dairy whatsoever, making it safe for lactose intolerant cooks and vegan diets alike.
- Vegan and Vegetarian: Completely plant based and perfect for seasoning bean chilis, lentils, or vegetable stews.
- Low Carb and Keto: With virtually zero carbs per serving, this fits perfectly into ketogenic meal plans without modification.
Storage and Reheating
Refrigerator
You do not need to refrigerate this dry spice blend. Room temperature storage in a cool, dark pantry works perfectly.
- Avoid storing near the stove or in direct sunlight
- Keep the container tightly sealed between uses
Freezer
Freezing extends the potency of your spice blend significantly. Frozen seasoning stays fresh for up to one year.
- Use a freezer safe container or vacuum sealed bag
- No need to thaw before using since it stays loose and scoopable
Reheating
As a dry seasoning blend, no reheating applies here. Simply scoop out what you need and add it directly to your cooking.
- Bloom in hot oil for 30 seconds to reactivate flavors
- Mix with a liquid before adding to slow cooker recipes
Nutrition Information
| Nutrient | Amount |
|---|---|
| Calories | 16 |
| Total Fat | 0.7g |
| Saturated Fat | 0.1g |
| Carbohydrates | 2.8g |
| Fiber | 1.4g |
| Sugar | 0.3g |
| Protein | 0.7g |
| Sodium | 147mg |
| Cholesterol | 0mg |
Nutritional values are estimates based on a 2 tablespoon serving size and may vary depending on specific brands of spices used.
Frequently Asked Questions
Can I use fresh garlic instead of garlic powder?
Fresh garlic adds moisture that will cause your dry blend to clump and spoil quickly. Stick with garlic powder for shelf stable storage.
How much seasoning should I use per pound of meat?
Start with 2 tablespoons per pound of ground beef or turkey. Adjust up to 3 tablespoons if you prefer bolder flavor.
Can I make this ahead and store it?
Absolutely, and you should. This blend keeps for 6 months in an airtight container at room temperature.
Why does my homemade seasoning taste different from packets?
Commercial packets contain sugar, cornstarch, and flavor enhancers you are skipping here. The pure spice flavor tastes cleaner and more authentic.
How do I make a less salty version?
Simply reduce or omit the salt in the blend. Add salt separately when cooking so you control the sodium level precisely.
Final Thoughts
This homemade chili seasoning recipe takes just five minutes to throw together and delivers flavor that blows any store bought packet out of the water. Your kitchen will smell incredible, your wallet will thank you, and your family will think you have been keeping culinary secrets from them.
Go raid that spice cabinet and mix up a batch right now. Once you taste the difference fresh, homemade seasoning makes in your chili, tacos, and everything else, you will wonder why you ever bought those little foil packets in the first place.
Homemade Chili Seasoning
Ingredients
Equipment
Method
- Gather and measure your spices. Pull all your spices from the pantry and check their freshness by giving each a sniff. Spices lose potency over time, so if yours smell faint or dusty, consider replacing them for maximum flavor impact.
- Combine the base spices. Add the chili powder, cumin, and smoked paprika to your mixing bowl first. These three ingredients create the foundation of your seasoning blend, so accurate measuring matters here.
- Add the aromatics. Measure in the garlic powder and onion powder next. These aromatics provide savory depth that makes your chili taste like it simmered for hours.
- Include the herbs. Crumble the dried oregano between your fingers as you add it to the bowl. This releases the essential oils and intensifies the herb flavor throughout your blend.
- Add the heat elements. Measure the cayenne pepper and red pepper flakes carefully since these control your spice level. Start with less if you are sensitive to heat.
- Season and balance. Add the black pepper and salt to round out the flavors. The salt helps all the other spices pop on your palate and balances any bitter notes from the chili powder.
- Mix thoroughly. Whisk everything together for at least 30 seconds until the color looks completely uniform. Any streaks or clumps mean uneven flavor distribution when you use the seasoning.
- Transfer to storage. Pour the finished blend into an airtight container or mason jar. Label it with the date so you know to use it within 6 months for the best flavor.